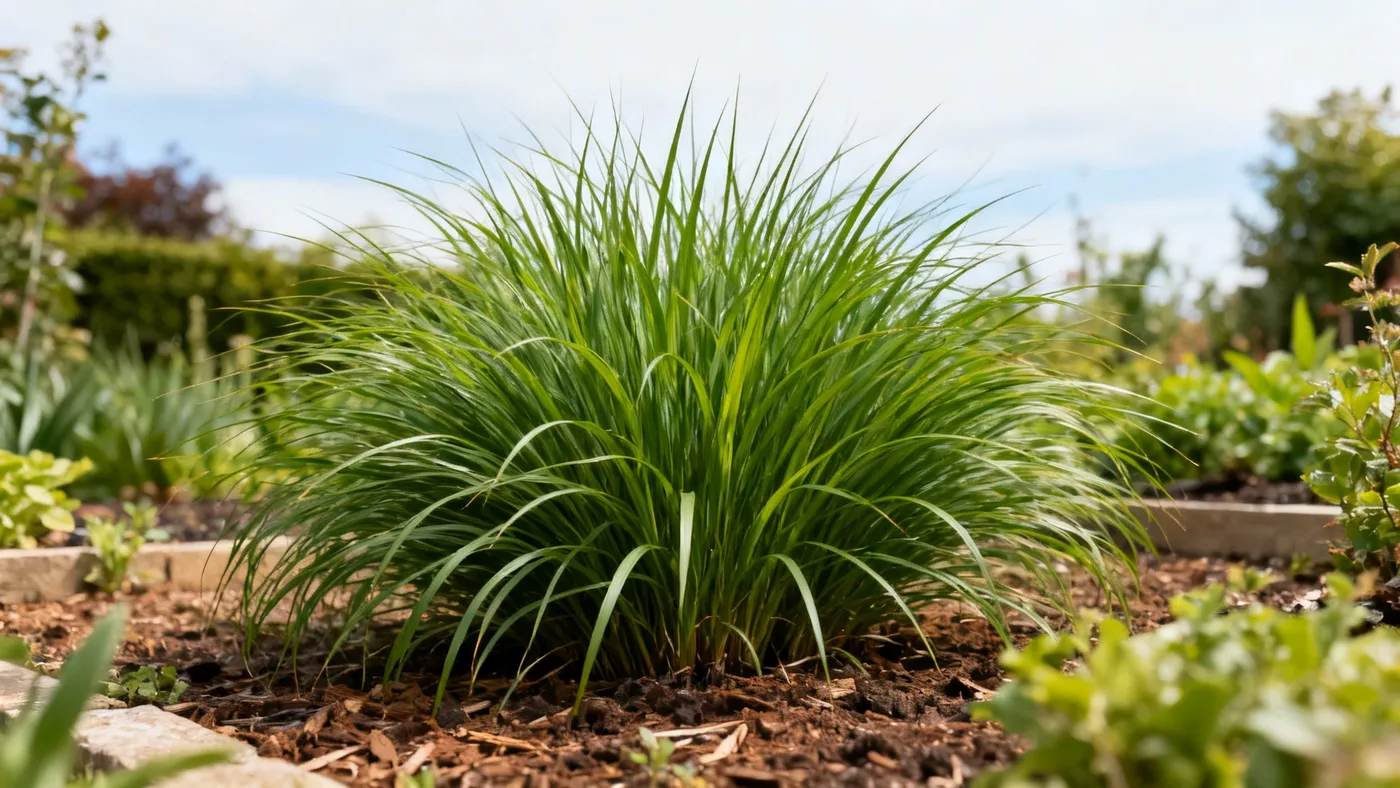
How to Propagate Dwarf Maiden Grass by Division
Division is the most reliable way to propagate Dwarf Maiden Grass and create new plants for your garden or landscape. Unlike many ornamental grasses, the named cultivars of Miscanthus sinensis (commonly sold as 'Adagio') don't stay true from seed, so division of the clump is your best method for getting plants that match your original specimen. The process is straightforward once you know the timing and technique, and you can expect each divided section to establish and reach flowering size in its first or second year.
When to Divide Dwarf Maiden Grass
Timing is everything when propagating Dwarf Maiden Grass by division. The ideal window is early spring, just as new growth begins to emerge from the base of the clump but before the foliage has fully leafed out. In USDA zones 5 to 9, this typically falls in March or April, depending on your local climate. Early-spring division takes advantage of the plant's natural energy surge and gives new divisions the entire growing season to establish roots before winter.
You can technically divide in fall, but this is riskier in colder regions. Young divisions may not have time to develop a strong root system before frost arrives, which can lead to winter die-back. Spring division, by contrast, sets up the new plants for success.
Materials You'll Need
- Sharp spade or garden fork
- Pruning saw or hand saw (for cutting through the dense, woody center of large clumps)
- Heavy-duty pruning shears or bypass loppers
- Sturdy work gloves
- Bucket of water
- Potting soil or garden soil mixed with compost (for container divisions, optional)
- Containers or pots at least 1 gallon in size (if starting divisions in pots)
- Newspaper or tarp (to work on and contain soil)
How to Divide Dwarf Maiden Grass: Step-by-Step
Step 1: Cut Back the Clump
Before you dig, cut the entire clump back to 4 to 6 inches above the ground. This removes the dried foliage from the previous year and lets you see where the crown and roots are. Use sharp pruning shears or a saw to make clean cuts. This step is essential because you cannot see the base of the plant through a tall mass of dried stems.
Step 2: Dig Around the Clump
Use a sharp spade to dig around the perimeter of the clump, working your way down at least 10 to 12 inches. Dwarf Maiden Grass roots are fibrous and concentrated mostly in the upper soil layer, so you don't need to dig extremely deep, but go deep enough to get under the root mass. Keep a bucket of water nearby to keep your hands and the roots moist as you work.
Step 3: Lift the Clump
Once you've cut around the clump, work your spade or garden fork under the base and gently lever the entire clump out of the ground. It will be heavy, especially if it is a mature 2 to 3 foot wide clump. You may need help. Set the clump on a tarp or newspaper where you have room to work.
Step 4: Rinse and Inspect the Root System
Gently spray the clump with water from a hose to remove soil and reveal the root structure. Look for the woody crown, which is the dense, central base where new shoots emerge. You'll see fibrous roots hanging below. Separating the clump is easier when you can see what you're working with.
Step 5: Divide the Clump
For small clumps (less than 18 inches wide), you can often pull the crown apart by hand if the divisions are loose enough. For larger or tightly packed clumps, use a pruning saw or sharp spade to cut the crown into sections. Each division should have at least one strong growing point (a visible shoot or eye) and a healthy portion of fibrous roots attached. Aim for divisions roughly 4 to 6 inches across, though you can go smaller if needed.
A typical mature clump (2 to 3 feet wide) will yield 3 to 6 usable divisions, depending on how many growing points it has and how aggressively you divide. Discard any weak, woody, or root-bound center material that shows signs of decline.
Step 6: Trim and Plant the Divisions
Trim any dead roots and cut back any remaining foliage to about 6 inches tall on each division. This reduces water loss while the plant is establishing. Plant each division immediately in prepared soil, either directly in the garden or in containers. If planting in the garden, space divisions 2 to 3 feet apart to allow for the plant's mature width of 2 to 3 feet. If potting them up, use a 1-gallon or larger container filled with a mix of potting soil and compost.
Plant each division at the same depth it was growing before. The crown should sit just at or slightly above the soil surface, not buried.
Step 7: Water Thoroughly
Water each division generously after planting. This settles the soil around the roots and eliminates air pockets. Keep the divisions consistently moist (not waterlogged) for the first 2 to 4 weeks as they establish new feeder roots.
Tips for Successful Propagation
- Work quickly. Once the clump is lifted, keep the roots moist and get divisions into soil or containers as soon as you finish cutting. Exposed roots can dry out fast.
- Sharp tools make cleaner cuts and cause less root damage. Dull tools crush tissue and invite disease.
- If you're dividing a very large clump and can't finish in one session, wrap the whole clump in burlap and keep it in shade with moist soil around the roots.
- Divisions planted in containers can be grown on indoors or in a protected nursery bed for one season before moving to their permanent garden location. This gives them a head start in size and cold hardiness.
- Early spring divisions often produce visible new foliage growth within 2 to 3 weeks. This is a good sign that roots are establishing.
- Mulch around newly planted divisions with an inch or two of compost to conserve moisture and regulate soil temperature.
Common Mistakes to Avoid
- Dividing too small. While you can make tiny divisions, larger divisions (4 to 6 inches) establish faster and bloom sooner. Save the very small pieces only if you have time to nurse them along.
- Planting too deep. The crown should be just at the soil surface. Planting it too deep can rot the base of new shoots.
- Skipping the initial cutback. Trying to divide a tall, dried clump without cutting it back first leads to mistakes and wasted effort. Always start with a clean 4 to 6 inch cutback.
- Dividing at the wrong time. Fall division in cold zones risks winter loss. Late spring division gives divisions less time to establish before heat stress. Stick to early spring.
- Neglecting watering during establishment. Newly divided plants need consistent moisture for the first few weeks. Dry periods during this window can stall growth or kill weak divisions.
Expected Results and Timeline
Divided sections typically produce visible new growth within 3 to 4 weeks in spring. By mid-summer, you should see substantial foliage development. Most divisions flower by late summer or early fall of their first year, though the plumes may be smaller than on an older established clump. By the second year, divisions usually reach flowering size similar to the parent plant.
After division, the parent clump will also regenerate. It can be cut back to 4 to 6 inches and will regrow vigorously throughout the season, often looking nearly as full by midsummer as it did before division.
If you're interested in understanding the full growth cycle and care requirements for your newly divided plants, the Dwarf Maiden Grass care guide covers watering, feeding, and seasonal management in detail.
Quick Reference: Division Checklist
| Task | Timing | Notes |
|---|---|---|
| Cut back clump | Early spring, before division | Cut to 4-6 inches above ground |
| Dig and lift clump | As soon as cutback is done | Work down 10-12 inches; keep roots moist |
| Rinse and inspect | Immediately after lifting | Look for healthy growing points and roots |
| Divide into sections | Same day as lifting | Aim for 4-6 inch divisions with visible shoots |
| Plant divisions | Within hours of dividing | Space 2-3 feet apart; crown at soil surface |
| Water thoroughly | Immediately after planting | Keep moist for first 2-4 weeks |
| Monitor growth | Throughout first season | Expect foliage in 3-4 weeks; flowers by late summer |
| Divide parent clump | Every 3-4 years if center thins | Rejuvenates clump vigor and density |