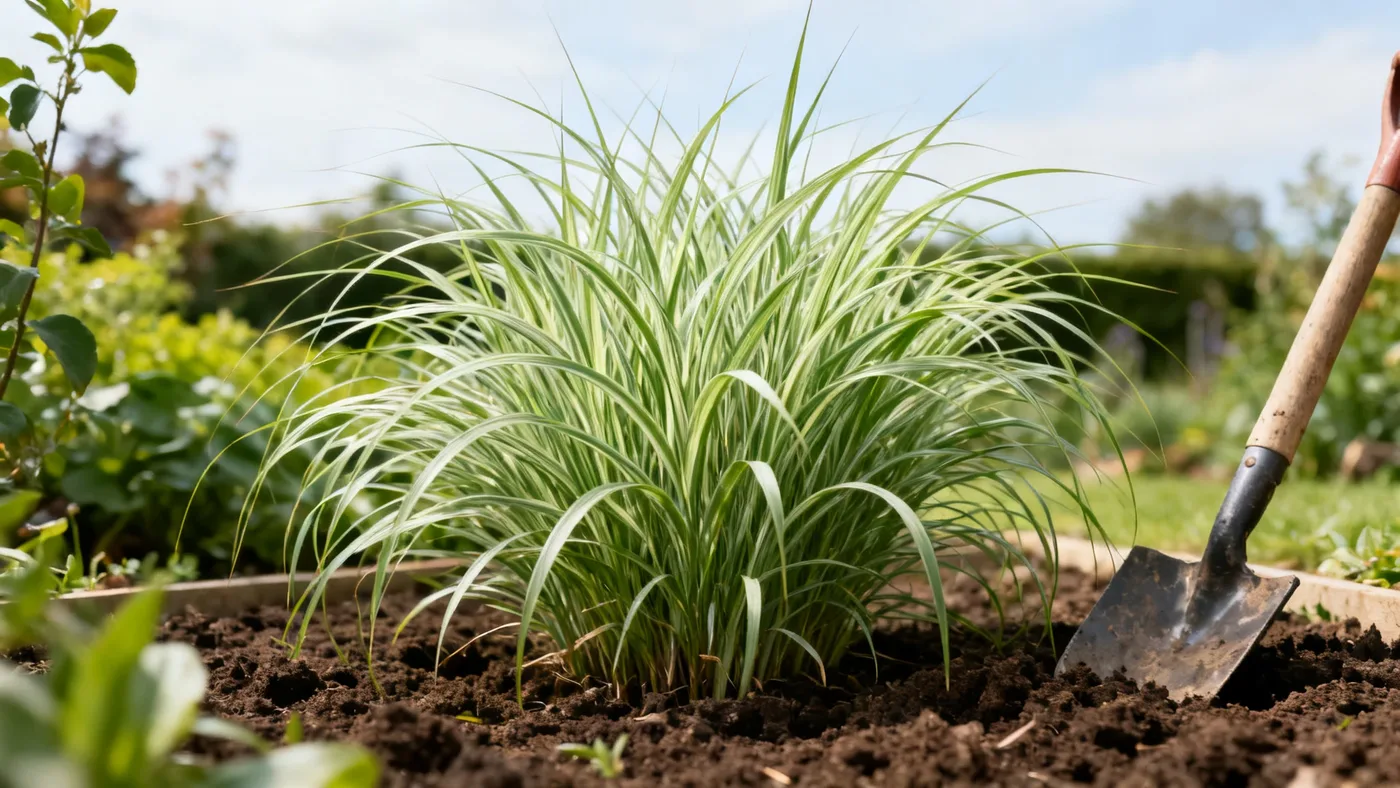
How to Plant Dwarf Maiden Grass for Fast, Healthy Establishment
Dwarf Maiden Grass is one of the most forgiving ornamental grasses to establish, and it grows faster than most gardeners expect. Whether you are starting with a quart-sized nursery plant or a #1 container, getting the planting right means the difference between a hesitant first year and vigorous growth that fills in by year two. This guide walks you through the process step by step so you can be confident your plants will thrive.
Materials and Ingredients You Will Need
- Dwarf Maiden Grass plants (typically sold as 'Adagio' or 'Yaku Jima' cultivars)
- Shovel or spading fork
- Soil amendments (compost, if your native soil is compacted clay or very sandy)
- Balanced, slow-release fertilizer (10-10-10 or similar; optional but helpful for first-year vigor)
- Watering can or hose with a gentle spray nozzle
- Landscape cloth or mulch (3-4 inch layer of wood chips or pine bark)
- Measuring tape (to verify spacing)
- Work gloves and garden knife (useful for loosening root-bound plants)
Timing: When to Plant Dwarf Maiden Grass
Spring after your last frost is the gold standard for planting Dwarf Maiden Grass. This gives the plant a full growing season to establish roots before winter dormancy. In USDA zones 5-9, this typically means April through early May in northern regions and March through April in milder zones. Fall planting is possible in zones 8 and 9 if you plant by early September, but spring is always the safer choice for any gardener unsure of local frost dates. Check your local extension service for your specific frost date.
Avoid planting in midsummer heat or late fall, when the plant has too little time to recover before winter.
Site Selection: Sun and Shade Requirements
Dwarf Maiden Grass demands full sun to perform at its best. This means at least 6 to 8 hours of direct sun per day. While the grass tolerates light part shade, flowering will be thinner and the clump form less dense in shadier spots. Avoid planting under tree canopies or on the north side of buildings where sun exposure is limited throughout the day.
The plant is adaptable to most soils, including clay and sandy loam, as long as drainage is adequate. Standing water in winter or after heavy rain will rot the roots and kill the plant. If your site stays wet, consider raising the bed 4 to 6 inches or amending the soil with compost to improve drainage.
Soil Preparation
Dwarf Maiden Grass prefers a soil pH between 6.0 and 7.0, though it tolerates a broader range of 5.5 to 7.5. You do not need a soil test unless you suspect extreme acidity or alkalinity. Most home garden soils will work without amendment.
If your soil is compacted clay, work in 2 to 3 inches of compost into the top 8 to 10 inches of soil before planting. If your soil is very sandy and drains too quickly, add compost to improve water retention. Well-drained soil is essential, so avoid heavy clay without amendment. The goal is soil that holds moisture but does not waterlog.
Step-by-Step Planting Instructions
Step 1: Dig Your Planting Hole
Dig a hole that is roughly the same depth as the root ball of your nursery plant and about 1.5 to 2 times wider. This gives the roots room to spread outward easily. For a typical quart-sized plant, you are looking at a hole about 10 to 12 inches wide and 8 to 10 inches deep. The grass will be slow to emerge in spring regardless, so do not go deeper than the root ball, planting too deep can suffocate the crown.
Step 2: Check the Root Ball and Loosen Roots if Needed
Gently slide the plant from its container. If the roots are circling tightly around the sides (a root-bound plant), use your fingers or a garden knife to gently tease apart the outer roots without shredding them. This encourages the roots to grow outward into the surrounding soil rather than continuing in a spiral. If the roots are loose and natural-looking, you can plant directly without loosening.
Step 3: Set the Plant at the Correct Depth
Place the plant in the hole so that the top of the root ball is level with the surrounding soil surface. The crown of the plant (where the foliage emerges) should sit right at soil level, never buried. If the crown is buried, the plant may rot. If it sits too high, the roots will dry out. Aim for level.
Step 4: Backfill and Water
Fill the hole with the soil you removed, breaking up any large clods as you go. Gently firm the soil around the plant with your hands, but do not pack it hard. Water thoroughly after planting to settle the soil and eliminate air pockets. The soil should be moist to a depth of 8 to 10 inches. If water runs off the surface, wait a few minutes and water again so it can soak in.
Step 5: Apply Mulch
Spread 3 to 4 inches of mulch (wood chips, pine bark, or compost) around the base of the plant, keeping it 2 to 3 inches away from the crown itself to prevent rot. Mulch helps retain soil moisture during the critical establishment phase and keeps soil temperatures more consistent. Do not pile mulch against the stems.
Step 6: Fertilize Lightly (Optional)
Dwarf Maiden Grass is a light feeder. If you choose to fertilize, apply a single application of balanced, slow-release fertilizer (such as 10-10-10) at planting time, following the package label for your plant size. This gives the plant a gentle nutrient boost during establishment. Do not over-fertilize; rich soil actually encourages the grass to flop or splay open as it grows too fast and lush.
Step 7: Water Regularly Until Established
Keep the soil consistently moist (not soggy) for the first 4 to 6 weeks after planting. Water deeply 2 to 3 times per week if there is no rain. Once the plant has put out new growth and shows signs of vigor (usually by mid-summer), you can taper back to watering deeply once per week. By the end of the first growing season, the plant will have developed enough roots to tolerate moderate drought.
Spacing for Multiple Plants
If you are planting Dwarf Maiden Grass in a mass planting or as a small cluster, space plants 2 to 3 feet apart. This accounts for the plant's mature width of 2 to 3 feet. Do not space closer than 2 feet or the clumps will compete for water and nutrients. Over 2 to 3 seasons, each plant will reach its full clump size and fill the space between neighbors.
Tips and Common Mistakes to Avoid
Expect slow spring emergence. Dwarf Maiden Grass is often the last plant to green up in spring. Do not assume it is dead if you see no foliage by mid-May. The plant is still waking up below ground. Wait until early June before concluding something went wrong.
Do not plant too deep. Burying the crown leads to rot. Keep the top of the root ball at soil level.
Avoid overly rich soil. Over-fertilizing or amending with heavy compost will cause the grass to grow loose and flop open rather than staying upright. Less is more with this plant.
Plant in full sun. Light shade will work, but flowering will suffer and the form will be open. Dwarf Maiden Grass earns its beauty in six hours of direct sun or more.
Do not skip mulching. Mulch conserves water and stabilizes soil temperature during establishment, especially in the first summer.
Water regularly but do not waterlog. Soggy soil for weeks on end will rot the roots. Moist but well-drained soil is the target.
Expected Results and Timeline
A freshly planted Dwarf Maiden Grass from a quart container may look modest at first, but growth accelerates quickly. By mid-summer of the first year, you should see vigorous new foliage and possibly the first flower plumes by late August or September. The plant typically blooms in its first or second year after planting.
By the end of the first growing season, the clump will have spread 1 to 2 feet outward from the original root ball. Over the next 2 to 3 seasons, it will continue to expand at a moderate pace until it reaches its full mature size of 2 to 3 feet wide and 3 to 4 feet tall in foliage, with plumes reaching 4 to 5 feet. Once established, it will hold that size for many years with minimal maintenance.
The plant's winter interest persists too. The foliage turns golden tan to bronze in fall and remains standing through winter if left unpruned, providing texture and cover for wildlife. Come late winter or very early spring, cut the entire clump back to 4 to 6 inches above the ground before new growth emerges, and the cycle begins again.
Mulch, Watering, and Ongoing Care
Once your Dwarf Maiden Grass is past its first growing season, watering needs drop sharply. The plant develops good drought tolerance and will thrive on rainfall alone in most climates. Refresh mulch annually in spring to maintain that 3 to 4 inch layer. A light application of balanced, slow-release fertilizer in spring supports overall vigor, though many gardeners skip this and the plant does fine.
Dwarf Maiden Grass is relatively pest and disease-resistant. Occasional mealybugs or scale can appear in humid conditions, but they are rarely severe. In prolonged wet periods, leaf spot or rust may show up on the foliage; these do not threaten the plant's life, and removing affected leaves or waiting for dry weather usually solves it.
For more detailed information on longer-term care and ongoing management, see our Dwarf Maiden Grass care guide.
Quick Reference: Planting Checklist
| Task | Timing / Details |
|---|---|
| Planting season | Spring after last frost (zones 5-9); fall possible in zones 8-9 by early September |
| Sun exposure | Full sun (6-8+ hours daily); light part shade tolerated but flowering and form suffer |
| Soil pH | 6.0-7.0 preferred; tolerates 5.5-7.5 |
| Drainage | Well-drained soil essential; amend clay or sandy soil with compost if needed |
| Hole size | 1.5-2 times wider than root ball; same depth as root ball |
| Planting depth | Top of root ball level with soil surface; crown at soil level, never buried |
| Spacing | 2-3 feet apart for mass plantings |
| Mulch | 3-4 inches; keep 2-3 inches away from crown |
| Watering (weeks 1-6) | Water deeply 2-3 times per week; keep soil consistently moist |
| Fertilizer | Light feeder; one application of balanced slow-release at planting (optional) |
| First-year growth | 1-2 feet outward spread; possible bloom by late summer/fall |
| Full maturity | 2-3 feet wide × 3-4 feet tall (foliage); reached in 2-3 seasons |
| Spring pruning (year 2+) | Cut entire clump to 4-6 inches above ground in late winter/early spring |