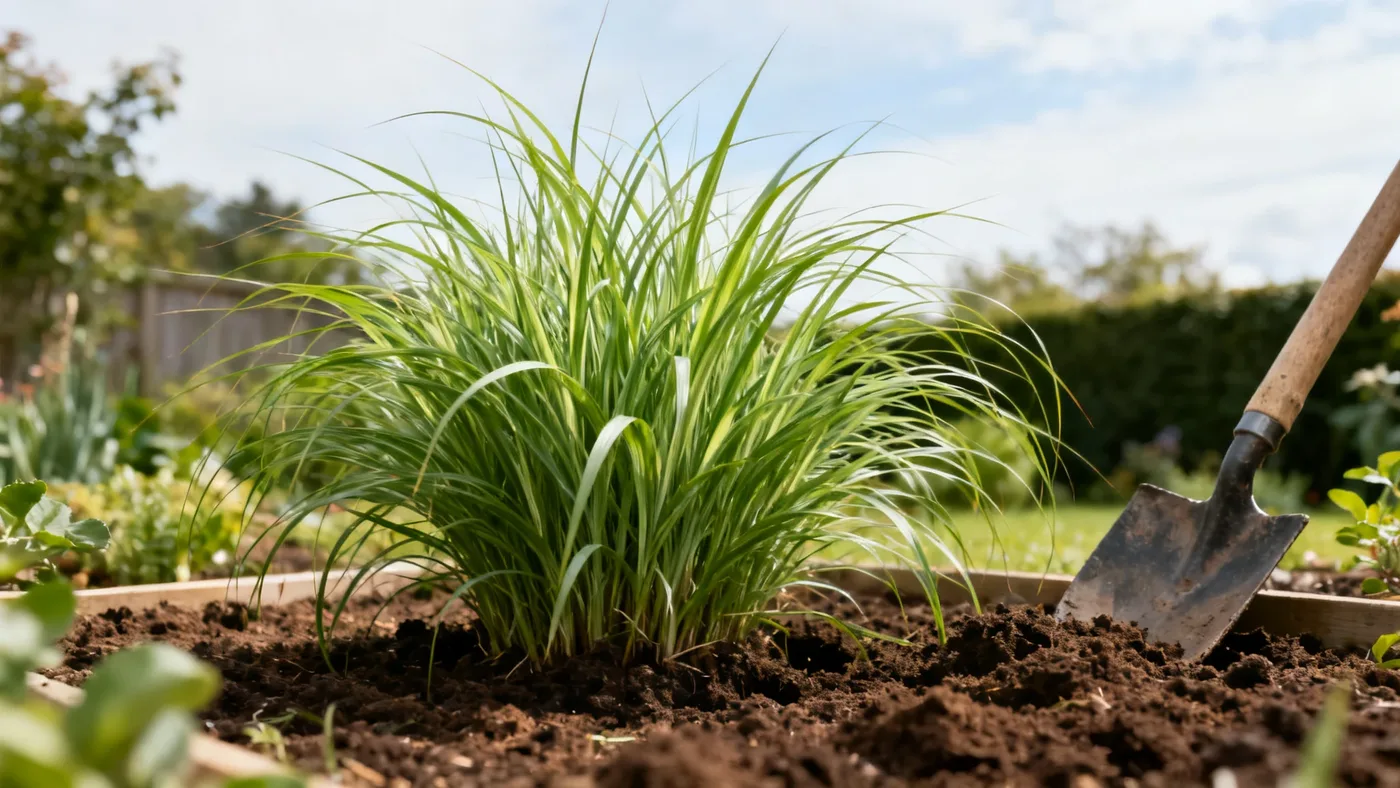
Dwarf Maiden Grass Spacing for Borders, Hedges and Mass Planting
Getting spacing right transforms Dwarf Maiden Grass from a handful of planted specimens into a coordinated landscape feature. Too close together, and they compete for water and air. Too far apart, and the planting looks thin for years. This guide walks you through the spacing math for three common uses: borders, hedges, and mass plantings.
Understanding Dwarf Maiden Grass Spacing Basics
Dwarf Maiden Grass reaches a mature width of 2 to 3 feet and a height of 3 to 4 feet in foliage, with bloom plumes extending to 4 to 5 feet. The growth happens in stages: the clump expands roughly 1 to 2 feet per year during the first 2 to 3 seasons, then holds steady at its mature size.
This matters for spacing because you must decide: do you want the planting to look full immediately, or are you comfortable waiting 2 to 3 years for the clumps to fill in? Most home gardeners plant at spacing that looks a bit open at first and fills in naturally over time. This saves money and avoids overcrowding as the plants mature.
Border and Edging Spacing
Borders frame a garden bed or pathway, so spacing here balances visual weight with definition. Plant Dwarf Maiden Grass 2 to 3 feet apart along the border line. This spacing works because:
- At maturity, clumps are 2 to 3 feet wide, so they just touch or slightly overlap when fully grown
- The staggered effect (offset rows if planting two deep) looks intentional rather than regimented
- It leaves room for air circulation, which reduces disease risk in humid climates
For a single-row border, measure 2 to 3 feet between the center of each plant hole. For a two-row staggered border (which creates more visual impact), use the same 2 to 3-foot spacing within rows and offset the back row by half the spacing distance. This creates a honeycomb pattern that fills in beautifully.
Hedge and Screen Spacing
An informal hedge or low screen using Dwarf Maiden Grass differs from a structured hedge because you are not pruning it into a tight shape. Instead, you are creating a living wall of clumps that provides privacy and wind break.
Plant Dwarf Maiden Grass 2 to 3 feet apart for a hedge. The plants grow 3 to 4 feet tall, and when spaced this way, present a continuous band of foliage by year two or three. The fall color (golden tan to bronze) and winter plumes add extra visual interest as the season progresses.
If you want a taller screen, remember that bloom plumes reach 4 to 5 feet, so this is the maximum visual height. Spacing at 2 to 3 feet apart gives you the full visual footprint within a few years without the plants becoming tangled or congested.
Mass Planting Spacing
Mass plantings cover large areas quickly and create a strong visual statement. The recommended spacing for mass planting Dwarf Maiden Grass is 2 to 3 feet apart, same as for borders and hedges. This is the standard because it accommodates the mature width and allows each plant to reach full size without crowding.
For a slope or difficult area where you need denser coverage sooner, plant at the tighter end: 2 feet apart. This trades initial cost and maintenance (closer planting means weeding between plants) for faster visual fullness. For a spacious, modern look on flat ground, use the wider end: 3 feet apart. This approach requires patience but results in fewer plants purchased and lower maintenance as the planting matures.
Step-by-Step Spacing and Installation
Materials and Tools You Will Need
- Measuring tape or marked rope (for spacing rows)
- Landscape marking spray paint or wooden stakes
- Shovel (for digging planting holes)
- Soil amendment (compost or peat moss) if soil is heavy clay
- Watering can or hose
- Dwarf Maiden Grass plants (quart or 1 to 3-gallon nursery containers)
Planting Steps
- Map your spacing on the ground. Start at one end of the planting area. Use a measuring tape and marking spray to indicate the center of each plant hole along your border line or grid. For a border, lay out a straight line. For mass plantings on open ground, create a grid of marks spaced 2 to 3 feet apart in both directions. Stagger every other row by 1 to 1.5 feet (half your spacing distance) for a honeycomb pattern.
- Dig planting holes at each mark. The hole should be as deep as the nursery container and 1.5 to 2 times as wide. This gives the roots room to spread into loosened soil. Dwarf Maiden Grass is adaptable to most soils, including clay and sand, but well-draining soil is essential. If your soil is heavy clay, break up the bottom of the hole and mix in 2 to 3 inches of compost to improve drainage.
- Position each plant. Remove the Dwarf Maiden Grass from its container. Gently loosen the root ball by hand or with a knife to encourage outward root growth. Set the plant in the hole so the top of the root ball sits level with the ground surface. Never bury the crown (the point where foliage emerges from the roots) or the plant may rot.
- Backfill the hole. Use the excavated soil (mixed with compost if your soil is poor) to fill the hole around the plant. Firm the soil gently as you go, but do not compact it hard. Leave a shallow basin around each plant to help catch and hold water.
- Water each plant thoroughly. After planting, water until the soil is moist 3 to 4 inches deep. Dwarf Maiden Grass needs regular water until it is established, roughly one growing season from spring through fall. Water weekly if rainfall is less than 1 inch per week. Once established after 1 to 2 growing seasons, the plants have moderate drought tolerance.
- Apply mulch (optional but recommended). A 2 to 3-inch layer of shredded bark or compost around (but not touching) each plant helps conserve soil moisture and suppresses weeds. Leave a small gap around the crown so air can circulate and excess moisture can evaporate.
Tips and Common Mistakes to Avoid
Mistake: Planting too close together. If you space plants closer than 2 feet apart, they will compete for water and nutrients, and disease risk increases in humid climates. Wait the 2 to 3 years for the clumps to fill in naturally, or choose a more densely spaced groundcover instead.
Mistake: Expecting immediate fullness. At planting, each Dwarf Maiden Grass clump is roughly 1 to 2 feet wide. The spacing of 2 to 3 feet will look open for the first year. By year two, clumps are noticeably larger. By year three, the planting reaches full maturity. Plan your landscape with this timeline in mind.
Tip: Adjust spacing for scale. In a small urban garden, you might space Dwarf Maiden Grass 2 feet apart to create a faster visual impact. In a sprawling rural landscape, 3 feet apart reads as natural and spacious. Both are correct; spacing depends on your aesthetic preference and budget.
Tip: Account for sun exposure. Dwarf Maiden Grass performs best in full sun. In light part shade, growth slows and flowering may be sparse, which means you might wait longer for the planting to fill in. Position your planting where each plant receives at least 6 hours of direct sun daily for best results.
Tip: Amend poor or compacted soil at planting time. Soil quality directly affects establishment speed. Poor, compacted soil slows growth and extends the timeline to maturity. Mixing compost into the planting hole at installation shortens the time to full visual impact by 6 to 12 months.
Tip: Plan for winter interest. Dwarf Maiden Grass retains its dried foliage and plumes through winter, creating a strong vertical element in the dormant landscape. Leave the planting undisturbed during winter to enjoy this feature. Cut the entire clump back to 4 to 6 inches above ground in late winter or very early spring, before new growth emerges. This clears the way for fresh spring growth.
For more details on year-round care after planting, see our Dwarf Maiden Grass care guide.
Quick Reference: Spacing by Application
| Application | Spacing | Plants per 100 sq ft (approx.) | Time to Full Maturity | Best for |
|---|---|---|---|---|
| Single-row border | 2–3 ft apart | 10–15 | 2–3 years | Edging beds, pathways |
| Two-row staggered border | 2–3 ft within rows, offset | 20–30 | 2–3 years | High-impact boundaries |
| Informal hedge or screen | 2–3 ft apart | 10–15 | 2–3 years | Privacy, wind break |
| Mass planting (tight) | 2 ft apart | 22–25 | 1–2 years | Slopes, quick coverage |
| Mass planting (spacious) | 3 ft apart | 10–12 | 3 years | Modern, low-maintenance design |