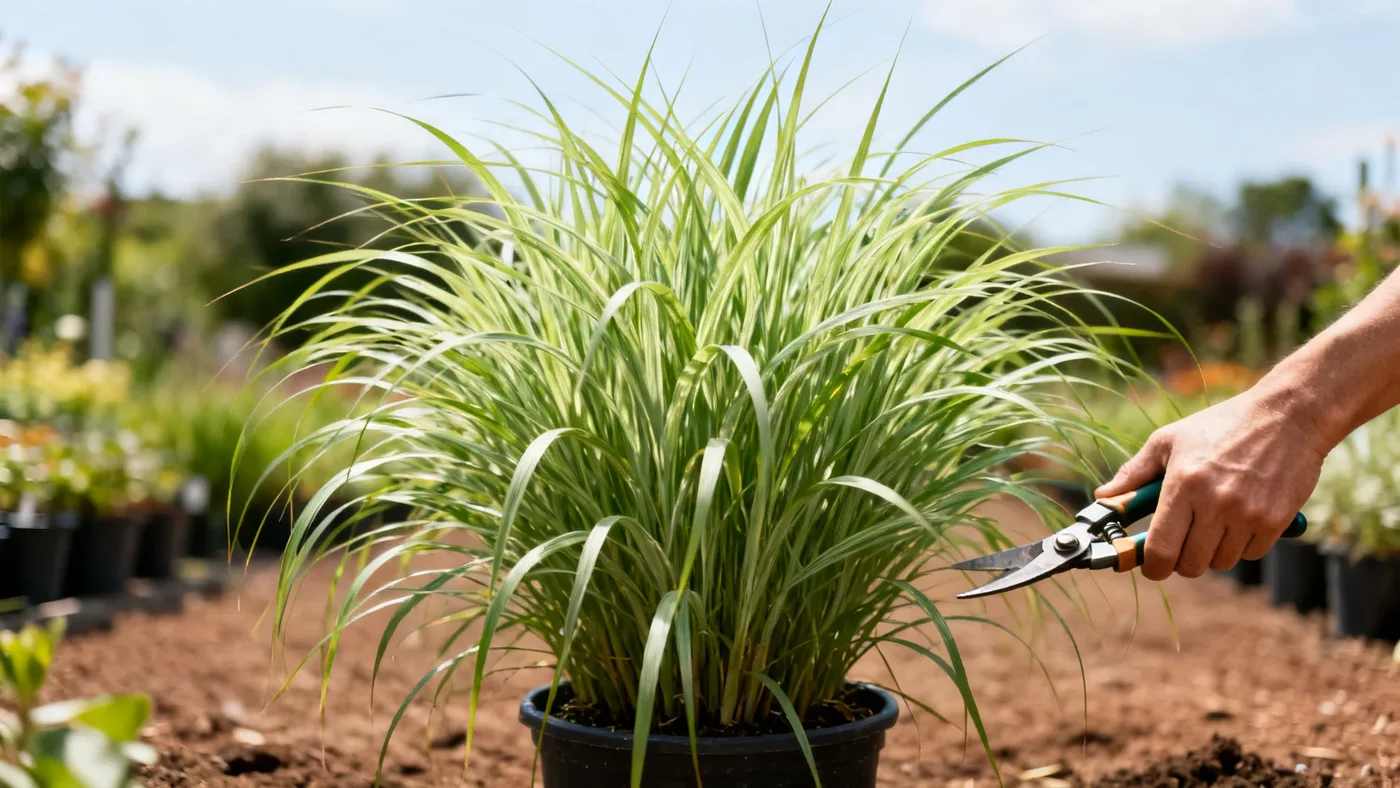
When and How to Cut Back Dwarf Maiden Grass Each Year
Cutting back dwarf maiden grass once a year is one of the simplest maintenance tasks you can do, yet it makes a real difference in how vigorous and shapely your plant stays. Unlike pruning shrubs or deadheading flowers, cutting back dwarf maiden grass is a straightforward job that takes an afternoon and a few basic tools. This guide walks you through the timing, method, and what to expect so your clump comes back strong each spring.
Why Cut Back Dwarf Maiden Grass
Dwarf Maiden Grass is a warm-season perennial that goes dormant in winter. As fall arrives around August to October, the foliage and plumes shift to golden tan and bronze tones, creating that attractive winter interest. But as months pass, the dried foliage and plumes accumulate dead plant matter and can become matted or flattened, especially under snow or heavy rain. Cutting the entire clump back to a low point each late winter or early spring removes all that dead material and clears the way for fresh new growth. A fresh cut also lets you see the clump's structure, making it easier to spot and remove any damaged or diseased stems before they become a problem.
When to Cut Back Dwarf Maiden Grass
Timing is the most important factor when trimming dwarf maiden grass. The goal is to cut after the foliage has done its job in winter but before new growth emerges in spring.
The ideal window is late winter to very early spring, before new shoots break through the soil. In USDA zones 5 to 9, this usually falls between late February and early April, depending on your climate. In warmer zones, new growth can start as early as February. In colder zones, you may have until late March or early April.
Watch your clump closely. When you start to see tiny green shoots pushing up through the center, you are at the absolute last window to cut. If new foliage has already grown several inches, you risk damaging those young shoots with your tools. A good rule of thumb: if the clump still looks tan and dormant, you are on time. If fresh green has appeared, you have waited too long.
Do not cut back in fall. Even though the foliage is brown and looks dead, leaving the dried clump standing through winter serves a purpose. The dried plumes and foliage provide winter structure and visual interest to your garden. Equally important, that dried material protects the growing crown of the plant from frost and ice.
What You Will Need
Cutting back dwarf maiden grass does not require specialized equipment. Most home gardeners can complete the job with common tools:
- Hedge shears, hand pruners, or a powered string trimmer or lawn mower with a high setting
- Pruning saw if stems are very thick or woody (optional)
- Heavy work gloves (the dried leaf blades have sharp edges)
- Safety glasses to protect your eyes from flying dried bits
- A large tarp, yard waste bag, or garden cart to collect the cut material
- A pencil or marker to identify the clump if it is surrounded by other plants
Many gardeners find that a powered string trimmer held vertically is the fastest method for larger clumps. Hand shears work fine for smaller plants or if you prefer a quieter, more controlled approach. A lawn mower set to its highest setting can also work, though it is less precise.
Step-by-Step Cutting Back Instructions
Step 1: Identify your clump and protect nearby plants. Dwarf Maiden Grass forms a dense clump 2 to 3 feet wide at maturity. Walk around it and note where it ends. If other low-growing perennials or ground covers are nearby, mark them or protect them with cardboard or a board so you do not accidentally cut them down. The dried grass bits fly everywhere during cutting, so a little advance protection saves cleanup time.
Step 2: Choose your cutting height. The standard cutting height for dwarf maiden grass is 4 to 6 inches above the ground. This is low enough to remove all the dead foliage and plumes but high enough to protect the growing crown underneath. If your clump is surrounded by other plants or near a path, you may want to cut closer to 4 inches. If it is in an open border, 5 to 6 inches is fine. Do not cut lower than 4 inches, as you risk damaging the dormant buds at the base.
Step 3: Cut from the outside in or top to bottom. Starting at the outer edge of the clump, work your way toward the center. With hedge shears or hand pruners, make cuts in overlapping strokes to ensure even coverage. If using a string trimmer or mower, cut in broad strokes across the top, working from one side to the other. Take your time to avoid uneven spots. Most gardeners find they need one or two passes to cut everything cleanly.
Step 4: Remove all cut material. Once you have cut the clump down, collect all the dried stems and plumes. You can rake them up, use your hands with gloves, or vacuum them with a leaf blower into piles. This step is messy but important. Leaving cut material piled around the base can harbor pests or prevent new shoots from emerging evenly. Use your tarp or yard waste bags to haul the material away for composting or yard waste pickup.
Step 5: Clean up and step back. Once all the cut material is gone, you should see the base of the clump clearly. Check for any dead or diseased wood that did not get cut out. Remove any leaves or debris trapped inside the clump. Step back and look at your work. The clump should now be a low, neat mound 4 to 6 inches tall, ready for spring growth.
Tips for Success
Wear heavy gloves and eye protection. Dried grass leaves are sharp and can cut bare skin or get into your eyes. Heavy leather gloves and safety glasses are cheap insurance.
Cut on a dry day if possible. Wet, snow-covered, or frost-coated foliage is harder to cut cleanly and makes cleanup messier. Wait for a calm, dry day if you can.
Use sharp tools. Dull shears tear and shred the stems instead of cutting them cleanly. A clean cut heals faster and looks better. Sharpen your tools before you start.
Do not fertilize right after cutting. Your clump does not need fertilizer at this point. Wait until new growth is 4 to 6 inches tall in mid-spring before applying a single dose of balanced, slow-release fertilizer if your soil is lean.
Mark young clumps. If your dwarf maiden grass is still establishing (under 2 years old), mark the spot so you do not accidentally step on it or place a tool there. Young clumps emerge slowly in spring and are easy to miss.
Common Mistakes to Avoid
Cutting too early in the season. If you cut in mid-winter during a warm spell, new growth may push up before the last frost, and frost can kill those tender shoots. Patience until late winter or early spring prevents this problem.
Cutting too low. Cutting below 4 inches can damage the dormant crown and is unnecessary. Stick to 4 to 6 inches and you are safe.
Leaving cut material piled around the base. Dried grass and bits of plume material trap moisture and can encourage rot or hide pests. Always remove all cut material completely.
Overwatering after cutting. Fresh clumps do not need extra water right after cutting. Water normally if rainfall is scant, but do not soak the clump. The soil around a dormant plant needs much less moisture than actively growing foliage.
Cutting during active growth. If you see green shoots already up several inches, stop and wait until next year. Cutting actively growing stems stresses the plant and may set back its growth for weeks.
What to Expect After Cutting
After you cut back dwarf maiden grass, the clump will look bare and low. This is normal. For a week or two, nothing may appear to happen. Remember, dwarf maiden grass is slow to emerge in spring and is often the last plant in your garden to green up. Do not assume something went wrong.
Around 3 to 4 weeks after cutting (depending on your zone and the weather), small green shoots should begin to push through. Once temperatures warm and consistent growth begins, the clump will fill in rapidly. By mid-to-late spring, you should see a neat, compact mound of fresh green foliage. By late summer, the clump returns to its full 3 to 4 feet tall in foliage, with plumes reaching 4 to 5 feet, and flowering occurs roughly August to October with coppery-pink to silvery-white plumes that fade to buff or tan.
A well-cut clump typically looks fuller, denser, and more vigorous than an uncut one. The symmetry improves because you remove old, splayed-out stems. If your clump has been flopping or splaying open (a common problem in overly rich soil or too much shade), cutting it back and ensuring it is in a location with full sun and well-drained soil helps prevent the problem from worsening next year.
Quick Reference Checklist
| Task | Timing / Details |
|---|---|
| When to cut | Late winter to very early spring, before new green shoots emerge (late February to early April in zones 5-9) |
| Cutting height | 4 to 6 inches above ground |
| Tools needed | Hedge shears, hand pruners, string trimmer, or lawn mower on high setting; heavy gloves and safety glasses |
| Cleanup | Remove all cut material completely; do not leave piled around the clump |
| Fertilizing | Wait until new growth is 4-6 inches tall before applying slow-release balanced fertilizer if needed |
| Watering | Water normally during dry spells; do not overwater dormant clumps |
| Expected regrowth | Green shoots appear 3-4 weeks after cutting; full foliage 3-4 ft tall by late spring; bloom August-October |
| Common timing mistake | Do not cut in fall or early winter; do not cut when new growth is already visible |
For a complete overview of dwarf maiden grass care year-round, see our care guide for growing tips on a thriving clump.