Winter Care for Dwarf Maiden Grass: Should You Cut It Back?
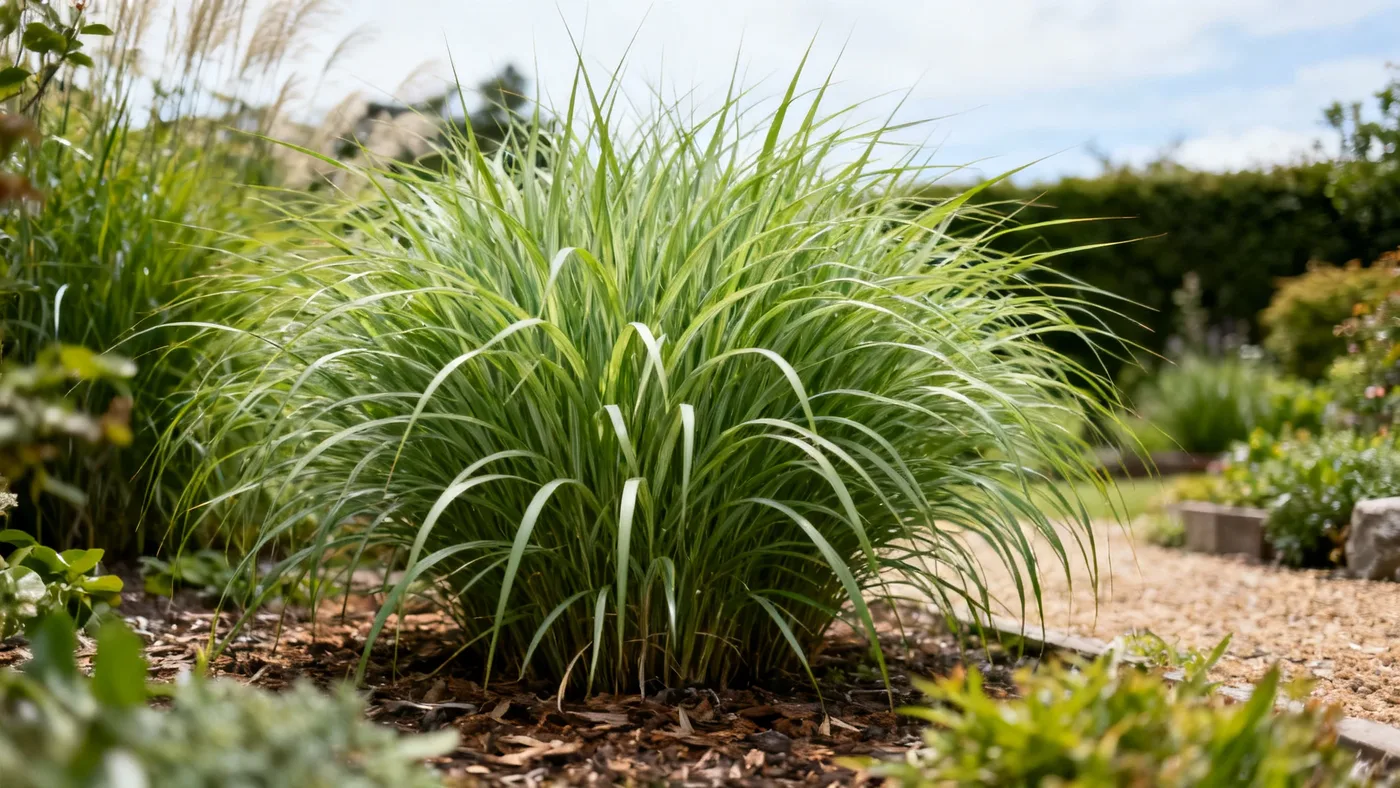
Dwarf Maiden Grass (Miscanthus sinensis cultivars like 'Adagio') transforms dramatically as temperatures drop. The fine-textured foliage shifts from green to golden tan or bronze, and those elegant coppery-pink to silvery-white plumes persist well into winter. But when the cold arrives, many gardeners wonder: should you cut this plant back, or let it stand?
The answer depends on your garden goals and zone. Unlike some ornamental grasses that need cutting to thrive, Dwarf Maiden Grass in USDA zones 5 through 9 actually benefits from being left standing through winter in most situations. The dried foliage and plumes provide winter interest, shelter overwintering insects, and protect the crown of the plant from frost. However, there are times when cutting back makes sense. This guide walks you through both scenarios and explains how to execute winter care correctly.
The Case for Leaving Dwarf Maiden Grass Standing
Dwarf Maiden Grass is known for strong winter interest. The plant's architecture does not collapse or become unsightly as cold arrives. Instead, the narrow arching green blades fade to rich golden tan or bronze, and the plumes age to a soft buff or tan. This persistent structure lasts through winter and into early spring.
There are several practical reasons to let the clump stand through winter:
- Natural crown protection: The dried foliage acts as insulation for the plant's crown, where new growth will emerge in spring. This is especially valuable in zones 5 and 6, where winter temperatures regularly drop below freezing.
- Wildlife shelter: The dense clump provides nesting material and winter cover for birds and beneficial insects.
- Visual appeal: The contrast between the tan grass and white snow, or the way light passes through the dried plumes on a winter morning, adds seasonal beauty to the garden.
- Reduced spring workload: You only need to cut back once, in late winter or very early spring, rather than managing fallen debris throughout the season.
For these reasons, most gardeners and landscapers in zones 5-9 choose to let Dwarf Maiden Grass stand through winter. The plant is hardy enough to survive in its hardiness range, and the foliage does not trap excess moisture that would promote rot.
When You Might Cut Back in Fall or Early Winter
There are limited situations where cutting back before late winter makes sense:
- In very wet climates: If your region experiences prolonged autumn rains or early-winter wet snow that stays on the ground for weeks, excess moisture can collect within the clump and promote fungal issues. In this case, cutting back after growth has fully stopped (usually November in zone 5, December in zone 7-8) allows the crown to dry out.
- For a very formal aesthetic: If you prefer a completely cleared garden bed over winter, cutting back in November or December keeps the space visually neat, though you will lose the winter interest benefit.
- To manage seed drop: In warmer zones or certain cultivars where self-seeding is a concern, removing the plumes prevents seeds from spreading into nearby areas. Note that some Miscanthus sinensis cultivars are more sterile than others; check your specific cultivar's seed-set behavior.
If you do cut back early, follow the same technique and height guidelines described below.
Materials and Tools You Will Need
Cutting back Dwarf Maiden Grass is straightforward and requires common tools:
- Sharp bypass pruners or hedge shears (for small clumps under 2 feet wide)
- A sharp hand saw or reciprocating saw (for larger, denser clumps)
- Heavy-duty work gloves (the dried foliage edges can be sharp)
- Eye protection (small dried bits can fly up while cutting)
- A sturdy garbage can or garden waste bag
- Optional: a tarp to contain cut material and make cleanup easier
The key is using sharp tools. Dull blades will tear the dried foliage and crush the crown, which can introduce disease. Take a few minutes to sharpen your equipment before starting.
Step-by-Step Instructions: Cutting Back in Late Winter or Early Spring
Timing is critical. The best window is late winter to very early spring, before new growth emerges. In zone 5, this is typically February through early March. In zones 7-9, it may be January through February. The goal is to cut after the coldest part of winter has passed but before the plant sends up new shoots.
Step 1: Assess the Clump Size and Choose Your Tool
Dwarf Maiden Grass typically matures to a width of 2 to 3 feet. Stand back and look at the overall size. A smaller clump (under 2 feet wide) is manageable with sharp bypass pruners. A mature clump (2-3 feet wide) is faster with hedge shears or a hand saw. Very dense clumps benefit from a reciprocating saw with a pruning blade.
Step 2: Cut to the Correct Height
Cut the entire clump back to 4 to 6 inches above ground level. This height protects any emerging shoots and allows you to see the crown clearly. Do not cut into the crown itself, which is at soil level. Make horizontal cuts across the top of the clump rather than vertical cuts, which can damage the base.
If the clump is very dense, you may need to make multiple passes. Cut from the outside inward, creating a level top at the target height.
Step 3: Clear Away the Cut Material
The dried foliage cuts into small pieces that take up considerable volume. Rake or pull out the cut material and place it in bags or a compost bin. If you did not cut it into pieces first, consider running a mulching mower over the pile to break it down. The cut foliage can be composted if there are no disease or pest concerns.
Step 4: Clean Up and Inspect the Crown
After clearing the debris, look at the crown area. You should see a neat, flat base about 4-6 inches tall with no dead or blackened tissue. If you see any soft, mushy spots near the crown (a sign of rot), let them dry out and do not water heavily in that area. Healthy crowns appear firm and light tan or light brown.
Step 5: Do Not Fertilize Yet
Resist the urge to feed the plant immediately after cutting. Wait until you see vigorous new growth (usually 4-6 weeks after cutting in late winter). A single application of balanced, slow-release fertilizer in spring is usually sufficient for the entire growing season. Too-early feeding can stimulate tender new growth that frost might damage.
Winter Protection for Your Dwarf Maiden Grass
Dwarf Maiden Grass is rated hardy in USDA zones 5 through 9. This means it is cold-hardy enough to survive winter in those regions with its crown intact, even if the above-ground foliage dies back.
In zones 5 and 6, where winter temperatures can dip well below freezing, the standing foliage actually provides extra insulation. Leaving the clump intact reduces the risk of frost heave (where repeated freezing and thawing push the crown up out of the soil). In zones 7-9, winter protection is rarely needed.
One situation where you might add mulch: if you cut back early (in fall) and live in zone 5, adding 2 to 3 inches of mulch around the cut base after the ground freezes may provide extra insulation. Remove this mulch in early spring to allow the crown to warm up and new growth to emerge.
Do not mulch the crown if you are leaving the clump standing. The dried foliage itself is the protection.
Common Mistakes to Avoid
Cutting too early in fall. If you cut in September or October while the plant is still growing, you can stimulate tender new shoots that will be killed by the first hard frost. This weakens the plant. Wait until growth has stopped entirely and the foliage is fully dried and tan.
Cutting too low. Cutting below the 4-6 inch guideline risks damaging the crown itself. The crown is where next year's growth will emerge. If you cut into it, you may see fewer shoots or none at all.
Using dull tools. Dull pruners and saws crush the dried foliage and tear tissue at the crown, opening pathways for disease. Sharp tools make clean cuts.
Leaving large pieces of dead foliage piled against the crown. After cutting, clear away all the dried material. If chunks of foliage remain against the base and get wet, they can trap moisture and promote rot over winter.
Cutting back very late, once new growth has emerged. If you wait until late spring and the plant has already sent up green shoots, you risk cutting into the new foliage and reducing its vigor. Aim for late winter or very early spring, before growth begins.
Forgetting that Dwarf Maiden Grass is slow to emerge. This plant is often the last to green up in spring. Don't assume it is dead if you don't see growth by mid-April in zone 5. Be patient and wait until May if needed. The shoots will appear once soil temperatures warm reliably.
What to Expect After Winter
In the weeks following a late-winter pruning, new growth will gradually appear from the crown. You may see little activity for 3-4 weeks, then rapid growth once soil temperatures climb and day length increases. The new foliage will be bright green and fine-textured, identical to last season's growth.
The plant will reach its mature size of 3 to 4 feet in foliage within a single growing season. Bloom plumes typically develop in late summer and fall (roughly August through October), showing the characteristic coppery-pink to silvery-white coloration.
For additional details on keeping your plant healthy year-round, see our Dwarf Maiden Grass Care Guide. With proper winter care and regular annual pruning, Dwarf Maiden Grass thrives for 10 or more years.
Quick Reference: Winter Care Checklist
| Task | Timing | Details |
|---|---|---|
| Leave clump standing (recommended) | October-February | Enjoy winter interest and natural crown protection; foliage turns golden tan to bronze |
| Assess for early cutting | Late October-November | Only if prolonged wet conditions or formal aesthetic desired |
| Prepare cutting tools | Late January (zones 7-9); Early February (zones 5-6) | Sharpen bypass pruners, hedge shears, or saw; gather gloves and eye protection |
| Cut back to 4-6 inches | Late winter to very early spring (Feb-March zones 5-6; Jan-Feb zones 7-9) | Before new growth emerges; make horizontal cuts across the top |
| Clear cut material | Immediately after cutting | Rake or pull away all dried foliage pieces to prevent rot |
| Inspect crown | Right after cleanup | Should be firm, light tan, with no mushy spots |
| Monitor for new growth | April-May (zones 5-6); March-April (zones 7-9) | Plant is slow to emerge; patience required; green shoots indicate success |
| Apply fertilizer | Once vigorous growth is visible (4-6 weeks after cutting) | Single application of balanced, slow-release fertilizer in spring |
| Verify mature form | August-October | Plant reaches 3-4 ft foliage height; bloom plumes appear |