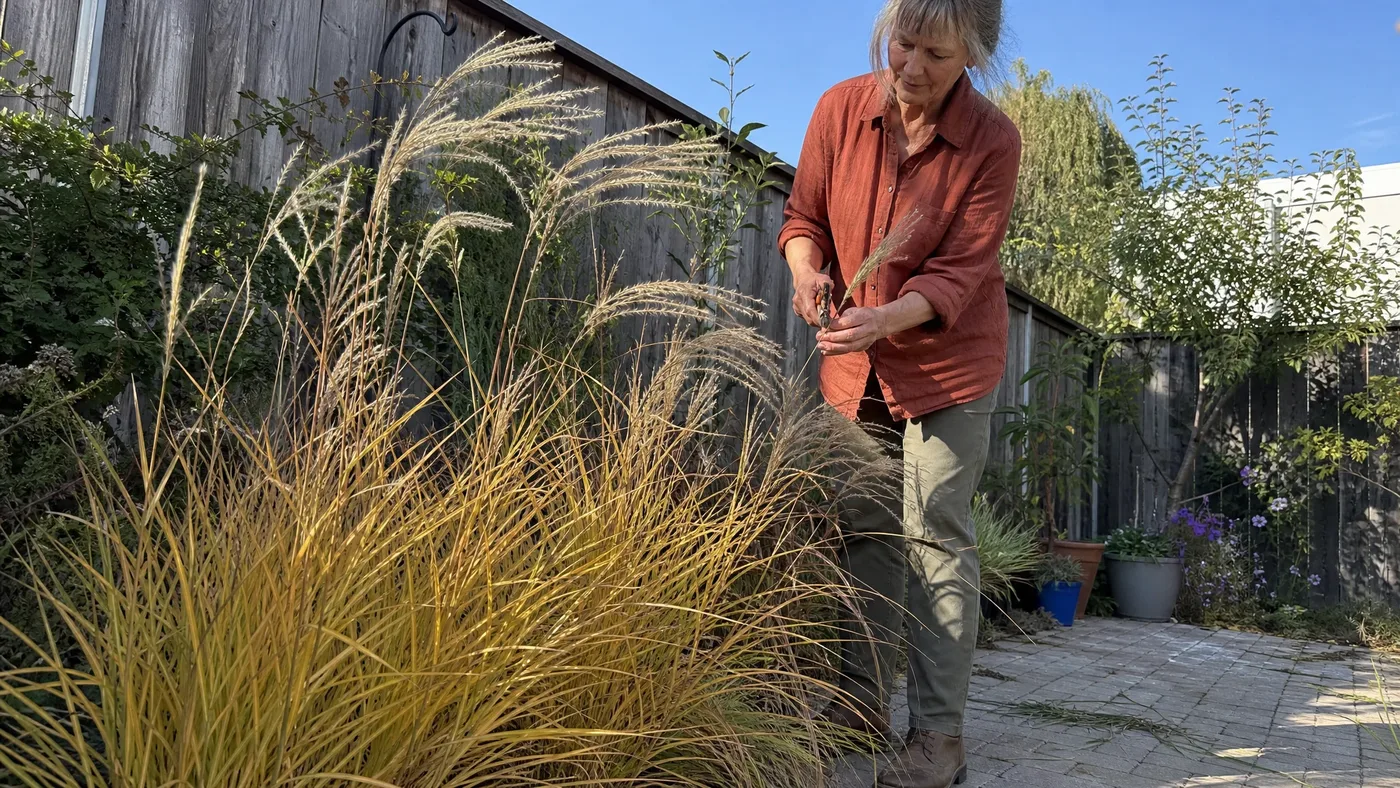
Cutting Dwarf Maiden Grass Plumes for Dried Arrangements
The common belief is that you cut plumes whenever they look good, stand them in a vase and enjoy them all winter. What we see instead is a drawer of shedding, fluffy plumes left from last year's attempt, a shelf dusted white, and a weekend of effort with nothing to show for it.
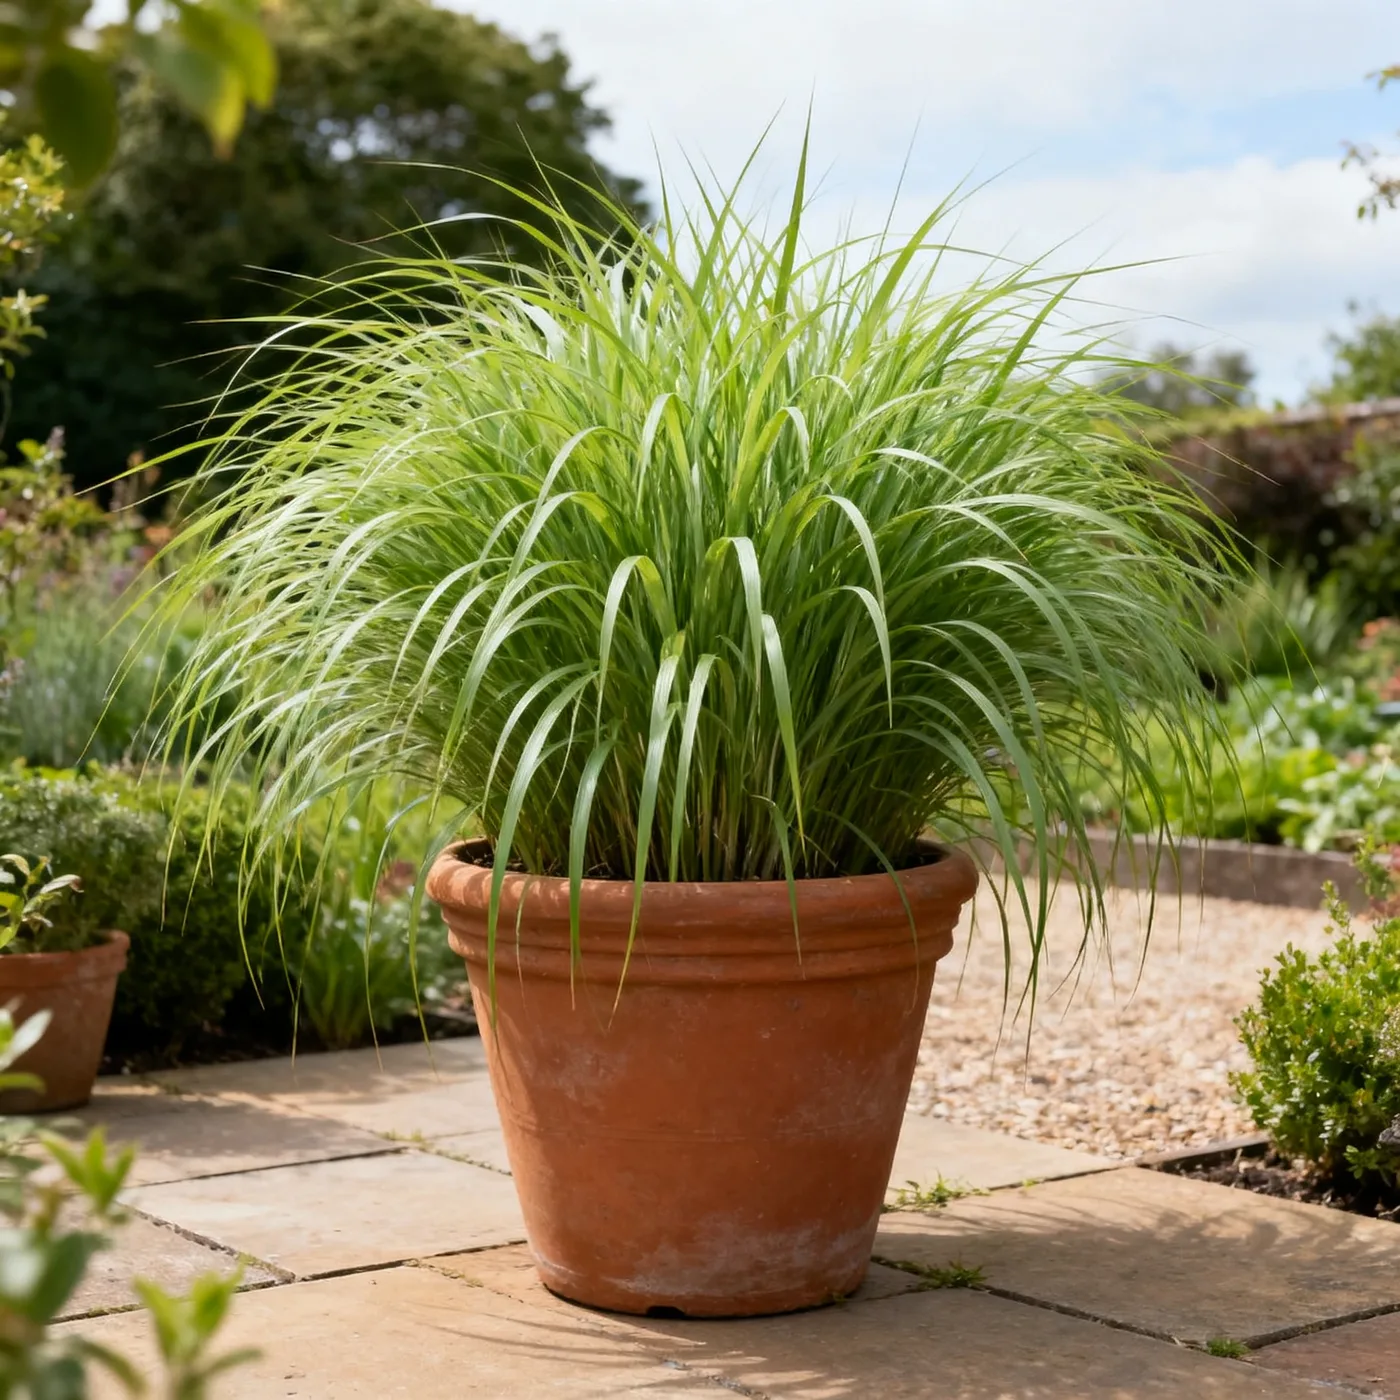
The plant is rarely the problem. Dwarf Maiden Grass opens its plumes silky and copper-pink, and the stems reach about 4 to 5 feet, which suits table arrangements well. What goes wrong is the timing of the cut and what happens in the days after it.
This article talks about cutting, sealing, drying and arranging Dwarf Maiden Grass plumes and answers the questions customers ask us most. Read on to learn which tools earn their cost, how to spot the silvery stage, how to control fluff, and how to spread the work over several years.
Sharp Pruners and Other Tools Worth Buying
Start with one pair of bypass pruners, the only purchase here worth paying real money for. Plume stems are slim but wiry, and a dull blade crushes them instead of cutting clean. A crushed stem tends to kink just below the plume, and a kinked stem hangs at an angle for the rest of its dried life. Good blades, sharpened each fall, last many years, so the cost spreads thin.
Everything else is optional. This is how we would rank it:
- Bypass pruners. Buy a good pair once and sharpen them before you cut. They also handle the late-winter cutback, so they earn their keep twice.
- Floral snips or small scissors. Worth owning if you plan to trim stems to length at the table, since they cut dry stems more cleanly than large pruners.
- A flat basket or long box. Stems travel better lying flat than bunched in your arm, and any shallow container you already own will do.
- Gloves and long sleeves. Cheap, and they spare your forearms a day of brushing past the foliage.
Skip hedge shears and power trimmers for plumes. They suit the full cutback, which is a separate job covered in our guide on when and how to cut back Dwarf Maiden Grass each year. For plumes, use hand tools and take one small bundle at a time so you never bruise a stem you plan to keep.
Cutting Dwarf Maiden Grass at the Silvery Stage
The plume you want has fully unfolded but has not started to loosen. At that point it is slim and sleek, silvery with a copper-pink cast, and the silky hairs lie close along each branch. Wait a few days too long and the same plume puffs open and starts releasing fluff, because it is going to seed. No spray puts that back. 'Adagio' bears pink-tinged flower heads in summer that turn creamy-white in autumn, and that color change is the clock you are racing.
Read the Plant, Not the Calendar
Do not trust a date, because the sources do not agree on one. Arkansas Extension says maiden grass flowers in late September, while NC State describes 'Adagio' flowers as consistent through August. K-State found 'Adagio' to be one of the earlier-blooming Miscanthus in its trial, so expect yours to run ahead of a taller maiden grass nearby. Check the clump every few days once plumes appear. Our guide to bloom time and plume color shows each stage.
Cutting Day, Step by Step
Once the plumes look right, the cutting itself goes quickly if you follow the same order each year.
- Pick a dry morning, after the dew has burned off. Damp plumes clump together and dry slowly.
- Stroke one plume lightly with a finger. If nothing comes off, cut it. If fluff clings to your skin, leave that stem and test the next.
- Cut low inside the clump so the stubs stay hidden behind the foliage.
- Lay the stems flat in your basket with all the plumes facing the same way.
- Bring them indoors within the hour and strip the leaves from the lower stem.
Hairspray, Sealants and Fluff Control
Sealing is a trade, not a fix. Every coat holds the silky hairs against the branch, which slows shedding, but it also adds weight and takes away some of the loose movement that makes these plumes worth cutting. What we tell customers is to seal lightly, and only plumes cut at the right stage. A plume cut late is already loosening, and a sealant will just glue the fluff into clumps.
Ordinary Hairspray
Unscented hairspray is the cheap option, and most people already own a can. Hold it well back from the plume and make several light passes, letting each one dry before the next. Common advice says to soak the plume until it is wet. We disagree: a soaked plume dries stiff, flat and tacky, and it collects dust for years.
Clear Acrylic and Craft Sprays
Craft sprays hold harder and feel less sticky, and a matte finish keeps the silver from turning shiny. The trade-off is a higher price per can and stronger fumes, so spray outdoors and let the plumes dry there before they come inside. If you cut only a modest harvest, the cheaper hairspray does the job and the acrylic is a luxury.
When to Skip Sealing
Leave plumes unsealed if you want the softest look and can accept a little shedding. Shake each bundle gently outdoors before bringing it in, and keep it away from fans and vents. If you grow a compact selection such as 'Yaku Jima', which NC State lists as a dwarf form with low seed set, test a few stems unsealed before you assume they will shed less.
Drying Racks, Jars and Dark Closets
Plumes dry well with three conditions: darkness, dry air and a little movement of that air. Light fades the copper-pink, and damp air keeps stems from drying through. Each setup below supplies those conditions differently, and the right one depends on how many stems you cut and how much hardware you want to own.
| Setup | What it needs | Trade-off |
|---|---|---|
| Hanging small bundles | String or rubber bands, a hook or rod, a dark closet | Gives the straightest stems, but crowded bundles crush the plumes |
| Upright in a dry jar | Empty jars or a tall vase, no water | Easiest and cheapest, but crowded plumes lean on each other |
| Flat on a mesh rack | A screen or rack with space around it | Handles a big harvest, but plumes flatten on one side unless you turn them |
A closet works because the door keeps light out, but check that it is genuinely dry. We often see people hang plumes in a steamy laundry room or a damp basement, and the stems stay limp. A bedroom closet or a dry spare room is better. Stems are ready when they snap instead of bending, and the plumes should feel light and springy. Keep the door open a crack for airflow if the closet is stuffy.
Dwarf Maiden Grass Stems in Vases and Small Bouquets
At 4 to 5 feet, the full stems are tall for a table and just right for a floor vase, so most of the work in a small arrangement is deciding how much to cut off. Dry plumes need no water, which means you can use any heavy container, even one that does not hold liquid. Trim from the cut end and never from the plume, so the silky top stays untouched.
Table Arrangements
Cut a loose handful of stems so the plumes stand about the height of the container again above its rim. Gather them in a heavy jar and let them fan out rather than packing them tight. A single bunch looks best in a plain container, and the plumes are soft enough to pair with other dried material from your garden. One of the most common questions we get is why a bouquet sheds on the table. The answer is nearly always a plume cut a few days late.
Tall Floor Vases
For a hallway or corner, keep the stems at full height and use a weighted base so a tall bunch cannot tip. Place the vase away from fans, heat vents and bright windows, which fade the color and shake loose any fluff. A few seconds of cool air from a hair dryer clears dust once a season.
Wreath Forms, Wire and Glue
A wreath uses the shortest, least perfect stems, so it is the best home for plumes that were cut a little too short for the vase. Pick the form first, because it decides how many plumes you need. A grapevine form hides gaps and looks rustic, a straw form gives a thick base you can pin into, and a bare wire frame is lightest but needs the most plumes to look full.
Use thin floral wire for the plumes and save hot glue for small touch-ups. Glue alone lets plumes peel off once the room warms and dries, while wire holds them for years. Seal the finished wreath lightly with your chosen spray, then hang it away from direct sun.
- Sort the plumes by length and trim each stem to a hand's width below the plume.
- Bind three or four plumes into a small bundle with a turn of wire.
- Wire the first bundle to the form with the plumes pointing in one direction.
- Lay each new bundle so its plumes cover the wire of the one before, working around the form.
- Tuck the last bundle under the first, glue any stray stem ends, and add a wire loop at the back.
Budgeting Dwarf Maiden Grass Plumes Over Several Years
Plan the plumes like any recurring garden job: decide what you want from the clump, then count what it costs each year in time and in the look of the border. Plumes you cut are plumes you will not see outdoors, and the fall display is the reason most people buy this plant. Our guide to Dwarf Maiden Grass fall color shows what a full clump gives the garden, so cut with that in mind.
Cost in Money
Most of the spending comes in the first year. The table shows which items you buy once and which repeat, so you can see the real yearly cost is small.
| Item | Buy once or repeat | Trade-off |
|---|---|---|
| Bypass pruners | Once | The biggest outlay, but they last for years if sharpened |
| Snips and basket | Once | Low cost and they speed up the table work |
| Hairspray or acrylic spray | Each fall | Hairspray costs less, acrylic holds harder |
| Wreath form, wire, glue | Form once, wire and glue as needed | A dry-stored form lasts many seasons |
Cost in Time and in the Border
Time is the part that creeps up. A few unhurried sessions each fall is plenty, and you will be faster after the first year when you know the stage on sight. To protect the border, cut from the back or from the side hidden from windows, and leave the front plumes standing. Set yourself a fixed number of stems per year rather than cutting everything that looks good.
Growing a Cutting Clump
If you want more than a few stems each year, give the job its own clump. Divide a mature plant using our guide to propagating Dwarf Maiden Grass by division, and plant the piece behind a fence or shed where nobody misses the plumes. Our notes on spacing for borders, hedges and mass planting help you fit it in without crowding.
A Plume Harvest Plan for Dwarf Maiden Grass
The plan is simple: cut at the silvery stage on a dry morning, seal lightly if you seal at all, dry in the dark, and arrange only what you will enjoy. Buy the good pruners once, and decide early whether a cutting clump or a few front plumes will supply your stems. Doing it the same way each year makes the work faster and the results more predictable.
Your yearly checklist: buy once the bypass pruners, snips, basket, jars or rack, and a wreath form. Repeat each fall the plume check, the dry-morning cut, a can of spray, fresh wire and a clear spot in a dry closet.
Dwarf Maiden Grass
Nursery-grown Dwarf Maiden Grass in sizes from Quart, shipped to your door.
From $19.99
Shop Now →We grow Dwarf Maiden Grass in full sun and well-drained soil on our own farms. Every Dwarf Maiden Grass we ship is potted and packed by the growers who raised it, so it arrives ready to plant, and every plant we sell comes from our own rows. When you are ready to plant plumes of your own, take a look at our shop.