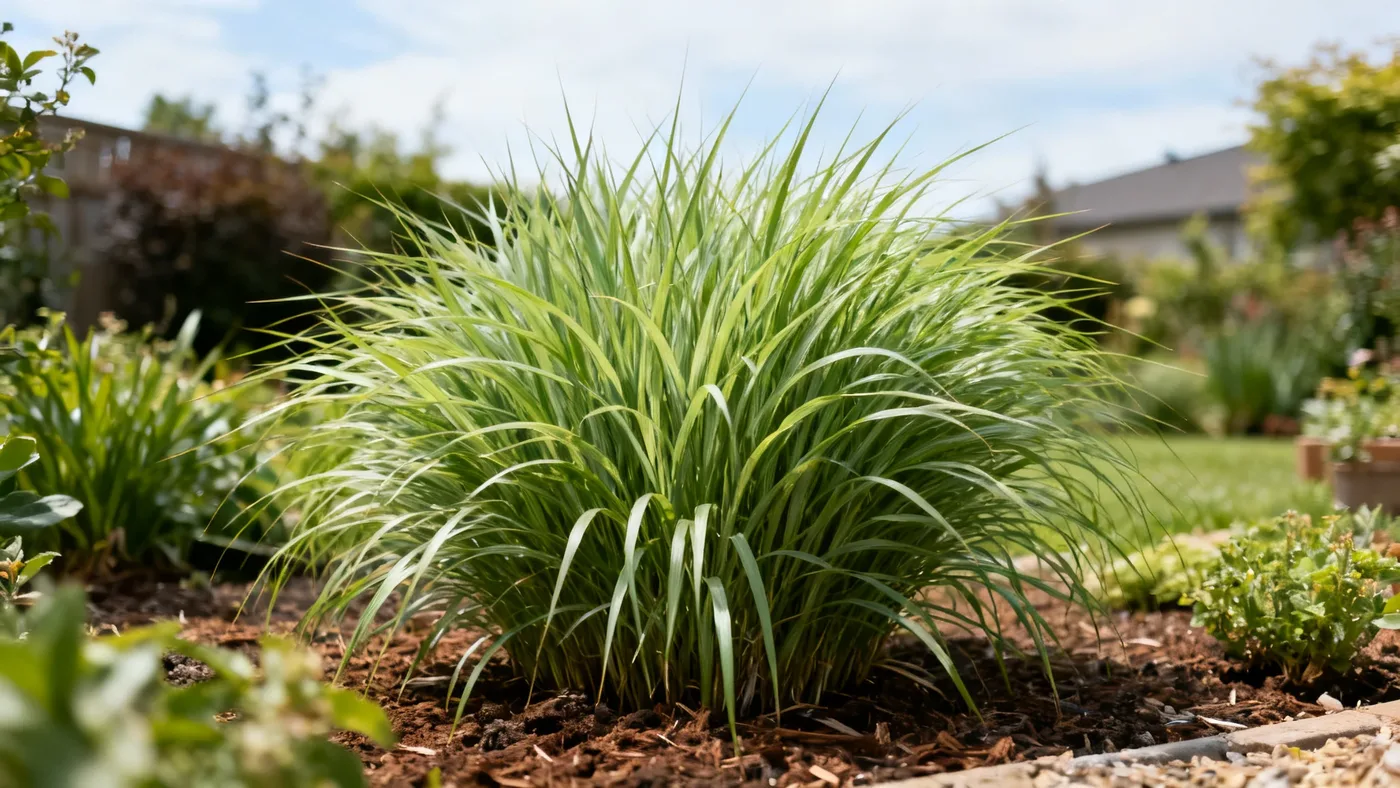
Best Soil for Dwarf Maiden Grass: Drainage, pH and Amendments
Dwarf Maiden Grass (Miscanthus sinensis 'Adagio' and similar compact cultivars) thrives in conditions that many ornamental grasses prefer: well-drained soil with neutral to slightly acidic pH. While this plant is remarkably adaptable across soil types, getting your soil composition right from the start prevents common problems like splayed, weak clumps and year-to-year decline. This guide walks you through diagnosing your existing soil, amending it if needed, and building the ideal foundation for a 3- to 4-foot clump that stays upright and vigorous.
Understanding Dwarf Maiden Grass Soil Needs
Dwarf Maiden Grass soil requirements are straightforward but specific. The plant is adaptable to most well-drained soils, including clay and sandy soil, but the common thread is drainage. Poor drainage causes root rot; overly rich soil causes the clump to become floppy and weak. You'll want a pH between 6.0 and 7.0 (neutral to slightly acidic) for optimal growth, though the plant tolerates the broader range of 5.5 to 7.5.
Newly planted Dwarf Maiden Grass needs regular water until established, then shifts to moderate drought tolerance after 1 to 2 growing seasons. This transition is only possible if your soil drains well and doesn't hold water around the roots.
Materials and Amendments You'll Need
Gather these items before you begin preparing the planting bed:
- Soil test kit or send samples to your local extension service (recommended for pH and nutrient baseline)
- A spade or garden fork
- Compost or well-aged bark mulch (if amending clay soils)
- Coarse sand or perlite (for heavy clay)
- Balanced, slow-release fertilizer (if soil test shows deficiency)
- Measuring tape or ruler
- Water source for drainage testing and post-planting establishment
You likely won't need all of these. Sandy or loamy soils may require nothing but a planting hole and compost around the base. Clay soils benefit from organic matter worked 6 to 8 inches deep to break up compaction.
Step-by-Step Soil Preparation
Step 1: Test Your Soil pH and Texture
Start by understanding what you're working with. Scoop soil from 6 inches deep in several spots where you plan to plant. A home test kit (available at garden centers) gives a quick pH reading. For a comprehensive nutrient and texture report, send samples to your local extension service (usually free or low-cost).
Squeeze a handful of moist soil in your fist. If it holds together tightly and feels slick, it's clay-heavy. If it crumbles immediately and feels gritty, it's sandy. Most garden soils sit somewhere in between.
Step 2: Assess Drainage
Dig a hole 6 inches deep and 6 inches wide. Fill it with water and time how long it takes to drain completely. If water remains after 4 hours, you have poor drainage that will harm Dwarf Maiden Grass. If it drains within 1 to 2 hours, you're in good shape.
Poor drainage means either the soil is too dense (clay-dominated) or the water table is high in that spot. Consider raised beds or a different planting location if drainage is severely impaired.
Step 3: Amend Clay Soils
If your soil is clay-heavy and drainage is slow, work compost or aged bark mulch into the top 6 to 8 inches. Aim for roughly 25 to 30% organic matter by volume. A typical approach is to spread 2 to 3 inches of compost and work it in with a garden fork.
Coarse sand can also help break up clay structure. Avoid fine sand, which can compact further. Use a 1:3 ratio of sand to compost for best results.
Step 4: Adjust pH if Necessary
If your soil test shows pH below 5.5, apply agricultural lime according to package instructions to raise pH toward 6.0 to 7.0. If pH is above 7.5, sulfur products lower it. Most gardeners find that their soil already sits within the acceptable range; only adjust if a test confirms it's outside 5.5 to 7.5.
Work any pH amendment into the top 6 inches and water it in. Allow 2 to 4 weeks for the change to stabilize before planting.
Step 5: Avoid Overly Rich Soil
Do not add high-nitrogen fertilizers or fresh manure to the planting area. Dwarf Maiden Grass is a light feeder. Overrich soil causes the clump to flop open and lodge over time, even if all other conditions are correct. If a soil test shows adequate nutrients, no fertilizer is needed at planting time.
Planting Your Dwarf Maiden Grass
Dig a hole slightly larger than your nursery container (usually a quart or #1 pot). The hole should be as deep as the rootball and 1.5 to 2 times as wide. Set the plant at the same soil level it occupied in the container; avoid burying the crown.
Backfill with your amended or native soil, firm gently, and water thoroughly. Mulch around the base (not touching the foliage) with 1 to 2 inches of compost or bark. This conserves moisture and moderates soil temperature during establishment.
Space plants 2 to 3 feet apart if creating a mass planting. This spacing allows each clump to reach its mature width of 2 to 3 feet without crowding over 2 to 3 growing seasons.
Water regularly for the first growing season. After that, Dwarf Maiden Grass needs water only during extended drought. Weekly watering in the absence of rain is standard; reduce frequency as the plant enters its second year.
Common Mistakes and How to Avoid Them
Mistake 1: Planting in Poorly Draining Soil
Poor drainage is the most common cause of decline. If your site tends to stay wet for days after rain, amend the soil or choose a different spot. Raised beds 10 to 12 inches tall work well in low-lying areas.
Mistake 2: Overfertilizing
Dwarf Maiden Grass needs only a single application of balanced, slow-release fertilizer in spring if the soil is truly depleted. Many gardeners make the error of fertilizing annually or using high-nitrogen products, which causes the clump to become lush but weak. Skip fertilizer unless growth clearly stalls.
Mistake 3: Planting Too Deep
Burying the crown (the base of the shoots) promotes rot. The top of the rootball should align with the soil surface. A small mound of soil is fine; a deep planting hole is not.
Mistake 4: Ignoring pH Extremes
While the plant tolerates pH 5.5 to 7.5, it performs best at 6.0 to 7.0. If soil is very acidic (below 5.0) or very alkaline (above 8.0), a soil test and amendment will improve vigor. Don't assume your soil is fine without checking.
Expected Results and Timeline
Well-prepared soil with proper drainage allows Dwarf Maiden Grass to establish quickly. Most plants bloom in their first or second year. The clump reaches full mature size of 2 to 3 feet wide over 2 to 3 growing seasons, with about 1 to 2 feet of spread per year.
Foliage typically appears in spring (often the last perennial to green up), grows through summer, and flowers in late summer into fall with coppery-pink to silvery-white plumes. Fall color transitions to golden tan or bronze. With good soil drainage and no overfertilizing, the clump should remain upright and vigorous for 10 or more years.
For more detail on care after establishment, see our Dwarf Maiden Grass care guide.
Quick Reference: Soil Checklist
| Soil Aspect | Ideal Condition | Action if Off |
|---|---|---|
| Drainage | Water drains in 1-2 hours; no standing water after 4 hours | Amend with compost; consider raised bed or new location |
| pH | 6.0 to 7.0 (optimal); 5.5 to 7.5 (acceptable) | Apply lime to raise pH or sulfur to lower pH; retest in 4 weeks |
| Texture | Well-draining loam, clay, or sand (not compacted) | Work 2-3 inches of compost into top 6-8 inches if clay-heavy |
| Fertility | Moderate; no excess nitrogen | Skip fertilizer at planting; apply slow-release only if growth stalls in year 2+ |
| Mulch Layer | 1-2 inches around base, not touching foliage | Add compost or bark mulch after planting and watering |
| Spacing | 2-3 feet apart for mass plantings | Thin clumps if crowded; space new plants accordingly |